
Over the pandemic, several instructors have commonly requested assistance with recording dialogues for PBLA activities, assessments, reading practice or listening activities. In this post, I have detailed the steps. These steps focus on preparing a listening dialogue for a class activity. I am sure that many instructors and students have devised their own hacks for this issue, so if you have invented better methods, please add them to the comments below.
Steps to Creating a Listening Dialogue Remotely:
- Prepare the script with your team. Ensure that the speakers’ names are indicated for each turn. A larger than normal font should be used on the script as well as visual cues such as bold or coloured fonts to delineate the characters in the script. It is important to ensure that all pauses are indicated by punctuation or a direct message, such as, “pause 30 seconds here.” Once the script is complete, send it via email to your team. The team member who will be editing the audio file must have a printed copy on their desk while the recording is proceeding, so they can write notes on the script to save editing time later on.
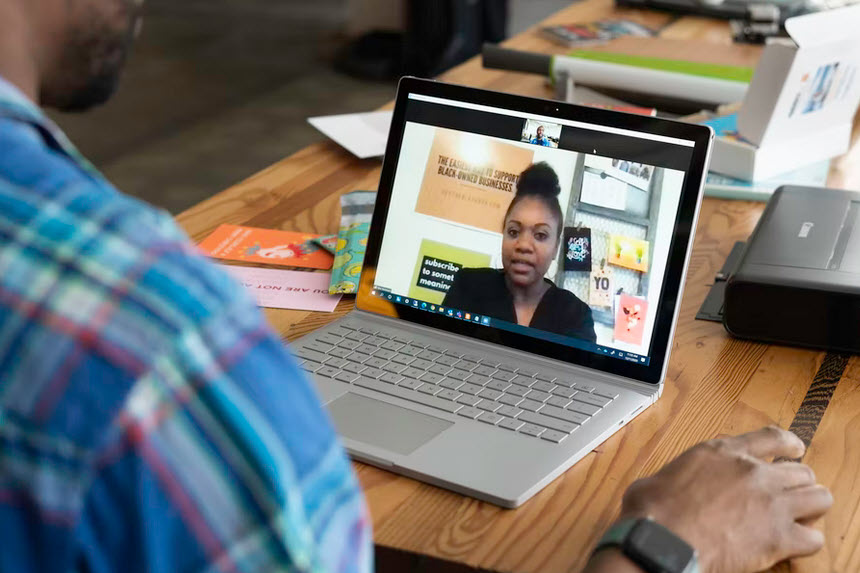
- Decide on a virtual meeting space. Zoom is a reliable tool as it will provide an M4A file to the owner of the meeting. Ensure that a meeting invite is sent well before the recording date. Confirm that the other speakers will have access to the virtual meeting space with a quick virtual get together a week before the recording session. This will also allow the team to identify any microphone issues as well. The technical lead should record each person talking to fine tune their microphones levels. Each member of the team must use a headset to prevent an echo in the recording. This can be tested at the practice session.
- The most efficient approach is to record the script in one take. At the recording session, advise all speakers to leave their microphones on, but stay quiet when they are not reading their lines. This includes breathing directly into the microphone and back-channel utterances such as “hmm” or “uh-huh.” Also advise them to have their script completely visible and available on a flat surface or on a screen that does not require scrolling. If it is a long script, advise the speakers to use the down arrow key to scroll rather than the mouse as the click will be picked up by their microphone. Also, advise them to leave their hands free and sit in a relaxed position. Instruct the speakers to simply stop and pause for three seconds if they have made a mistake and then continue from an appropriate point in the script to rectify the recording. The designated audio editor will tick on the paper where these pauses occur. Before anyone speaks, the record meeting button must be set to ON. After the scripts are read to the satisfaction of all, the record button is set to OFF.
- If Zoom is used, set the recording destination to Record on this computer. An audio file in M4A format will appear in a folder named with the date and time of the Zoom session followed by the title of the Zoom session. There are many online tools to convert audio file formats from the Zoom M4A into the common MP3. See the link to Free Convert app below. Once this is completed, the audio file can be edited.
- Use an editing app for the audio. There are many audio editors available. I recommend using Audiomass for quick, single channel jobs, or Audacity for more complex editing tasks. Simply upload the audio file into the audio editor (usually in MP3 format), and a sound wave will appear in the editor. This visual representation of the audio provides a means that can be selected and manipulated on the screen. For example, if a part of the sound wave is selected, and the Delete key is pressed, the audio for that portion of the clip is removed.
Editing normally follows these steps*:
- Start the editing app
- Open the audio clip
- Normalize the audio
- Trim the beginning and end if the clip
- Cut (remove) unwanted segments of the audio clip
- Add silence to space utterances
- Add silence to overwrite segments with unwanted sounds
- Save or Export the file as an MP3
*For details on these steps, see the “How To” documents, Audio Editing with Audacity or Audio Editing with AudioMass.
- Optionally, adding accessibility features to your audio also depends on your authoring or hosting technology. Many now offer the option of adding a transcript, closed captioning or live captioning.
- The steps to publishing your audio files varies based on your learning management system. It can be a simple link or it can be embedded with an activity.
Final thoughts
The COVID-19 crisis forced us to innovate with our course preparation, delivery, student interactions and professional development. Possibly, many of these will be useful when the new normal reveals itself. Since many of us have made professional connections across the country during the pandemic, this process may be useful to collaborate to create new learning objects at a distance.
Resources:
Audacity audio editing, https://www.audacityteam.org
AudioMass online audio editor, https://audiomass.co
Audio Editing with Audacity, https://tinyurl.com/nhbcbhau
Audio Editing with AudioMass, https://tinyurl.com/2p8sbvn7
Free Convert, https://www.freeconvert.com/mp3-converter
Zoom, https://zoom.us

Submit a Comment